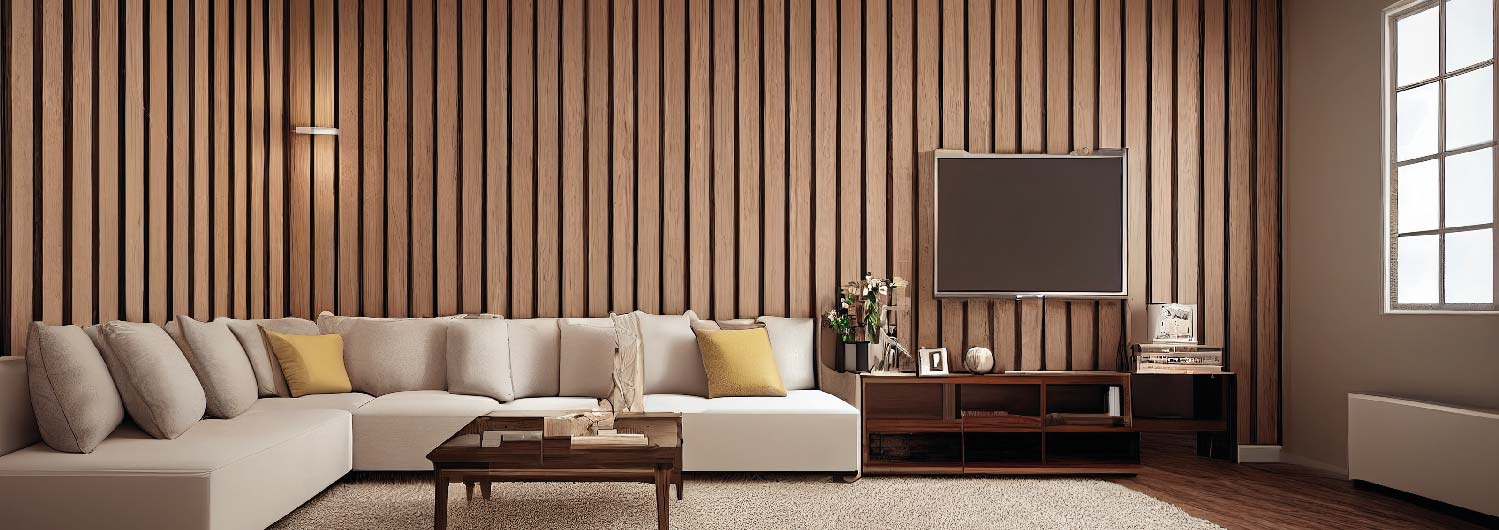
How do you make a wood feature wall?
Timber wall features are becoming ever popular now as a way to bring a natural wood effect into the décor of your home, office, shop or café. Natural wood is great for acoustics, creating a calming atmosphere and quickly covering dull looking walls and transforming spaces. Here is a simple guide to show you how easy it is to buy timber cut to size from Timbersource and start building your own timber feature walls.
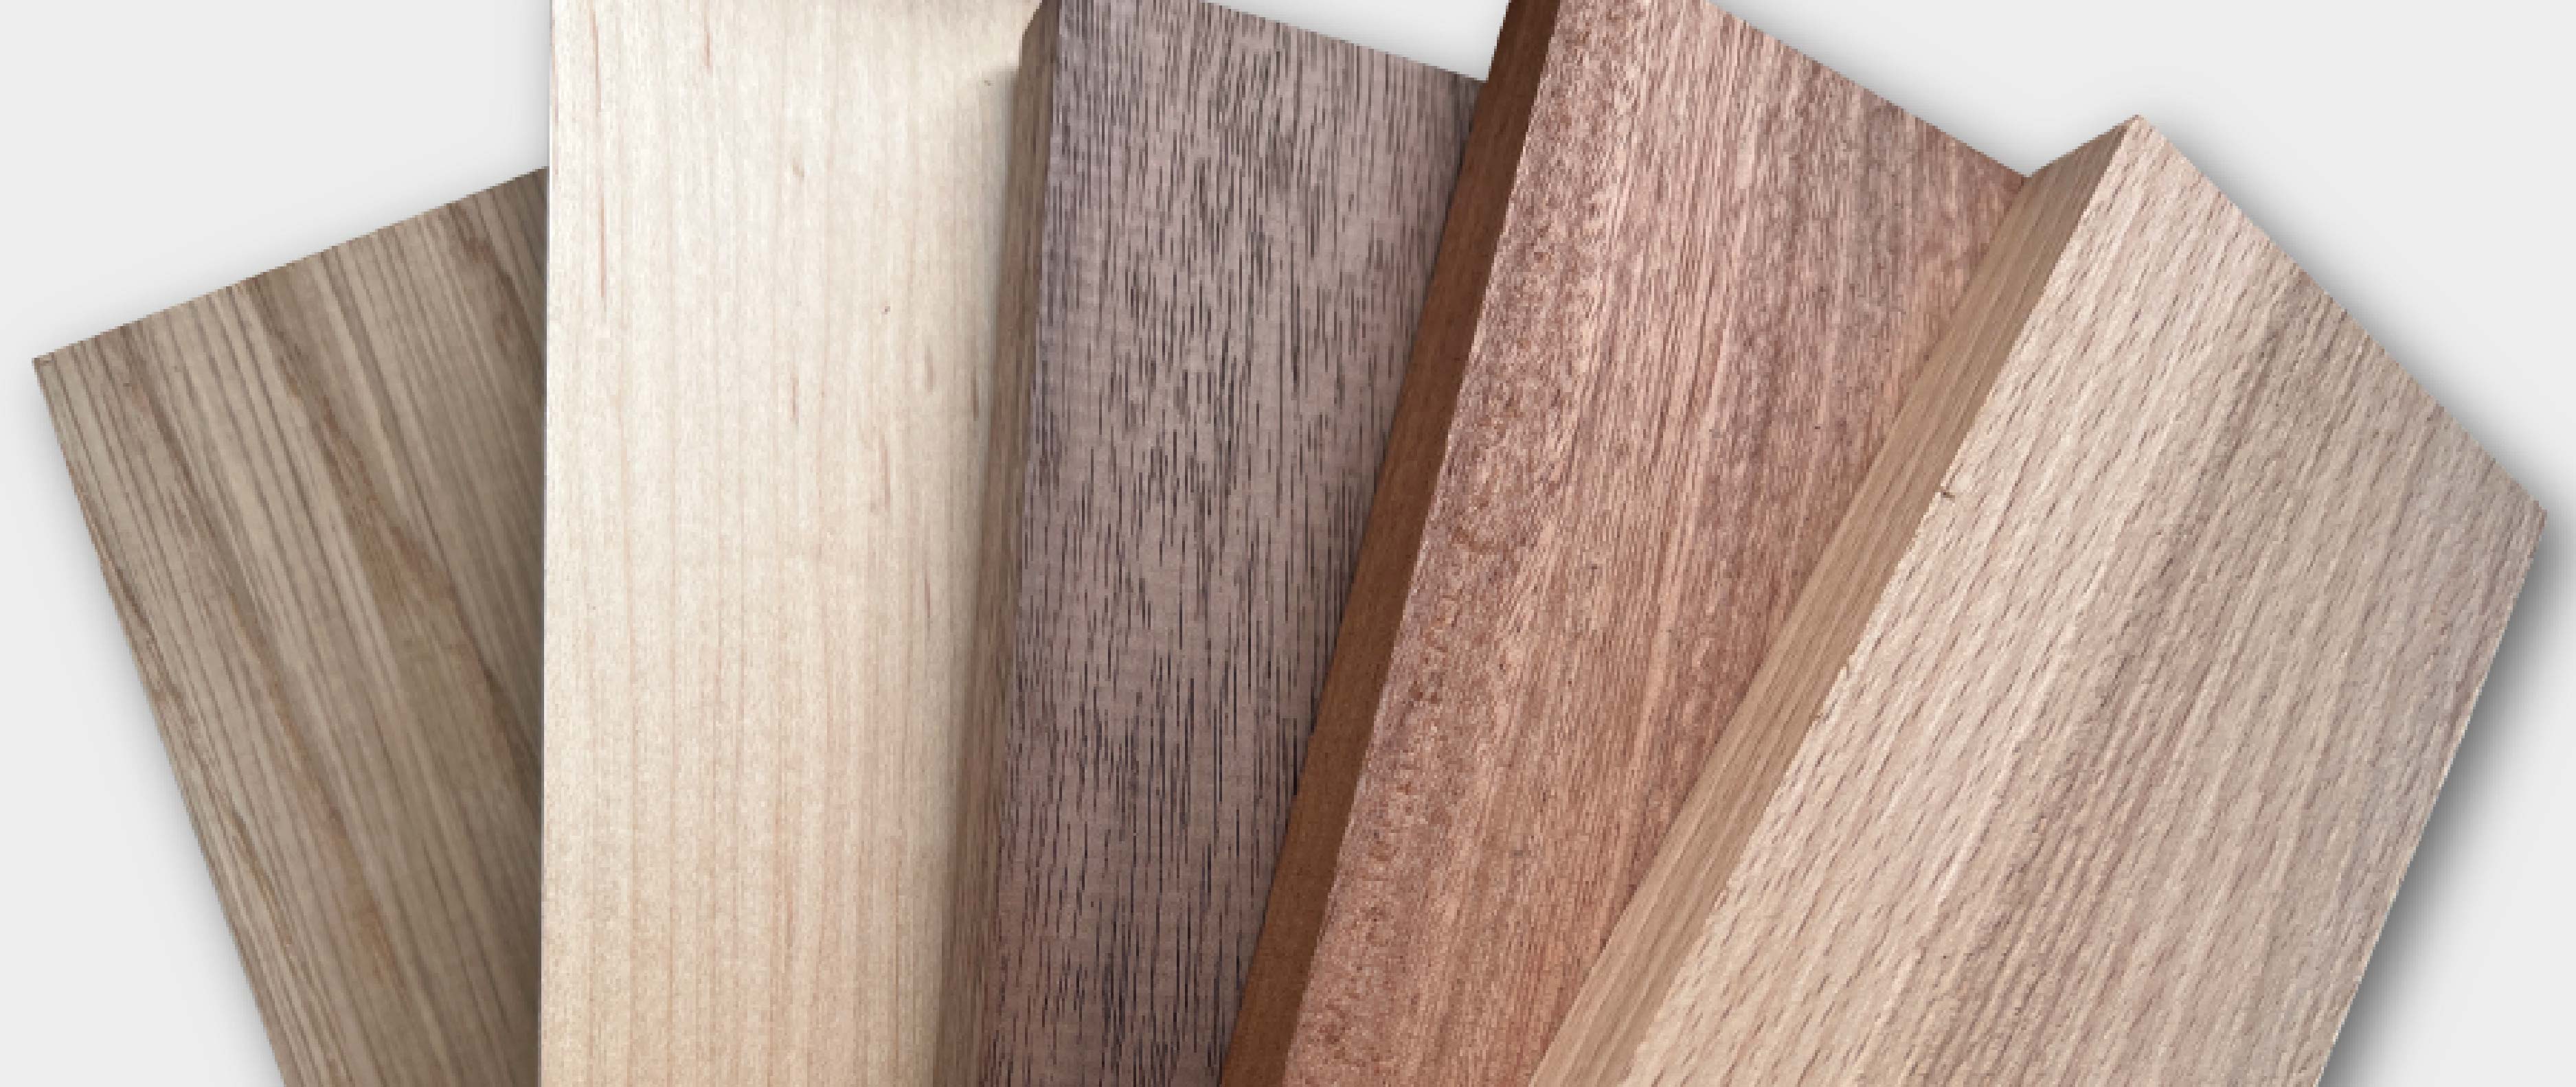
1. Choosing your material
Using our online cutting list you can select different types of wood for the colour and appearance based on your taste. Dark colours will create an ambience to the room like Walnut for instance. Lighter colours like Ash or Maple will brighten up a space and also allow other colours in the room to stand out. Our timbers have different prices so by putting your sizes into the cutting list and switching between the different wood types you can see comparative costs.
Once you are happy with the type of timber, sizes and cost this can be ordered through our website and delivered anywhere in the UK directly to your door in only a few days.
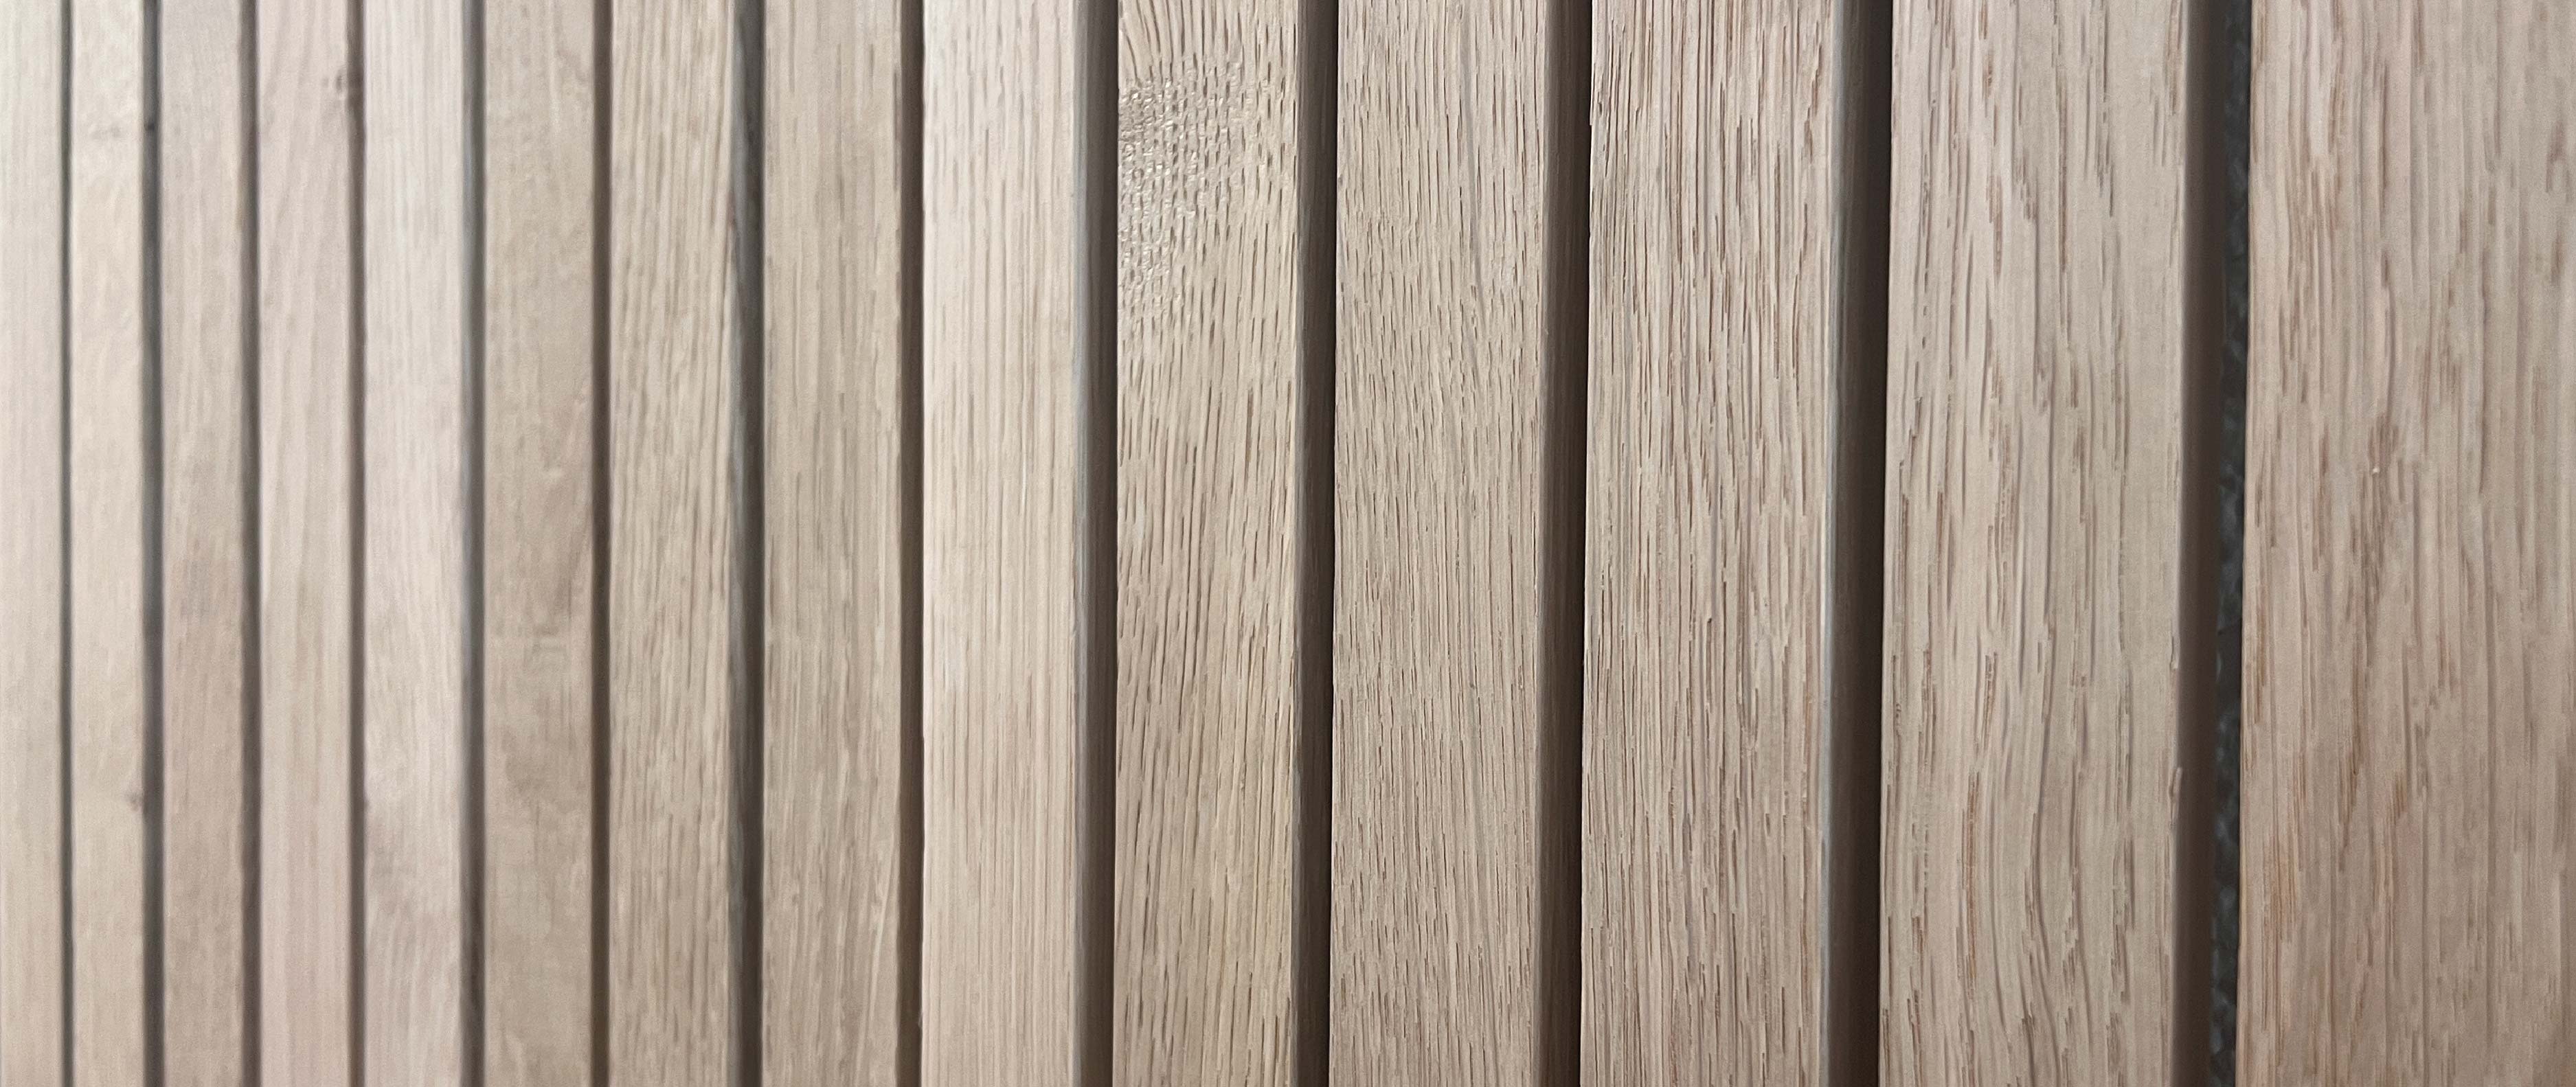
2. Choosing the finish
For the finish we recommend planed all round (PAR) which is otherwise known as planed square edged (PSE). This not only takes the board from a rough texture to a smooth finish but it also makes it a regular straight and a square piece. The smooth finish will bring out the patterning and true colour of the timber and make it safer to touch. The square and parallel quality will make fixing it to the wall a lot more consistent and the gaps uniform width also.
Planed all round timber is our fastest machining method and when ordered online it can be shipped in rapid time with no minimum order. You could order this on a monday and have it ready for the weekend.
3. Setting up your design
Its always important to plan your project. That way you can ensure you know exactly how many pieces you need and what sizes you are looking for. We can cut timber to size so your design can be bespoke. Start by measuring the space you want to cover. Next think about whether you want vertical, horizontal or even diagonal pieces. The dimensions of the space should now help you decide on the length.
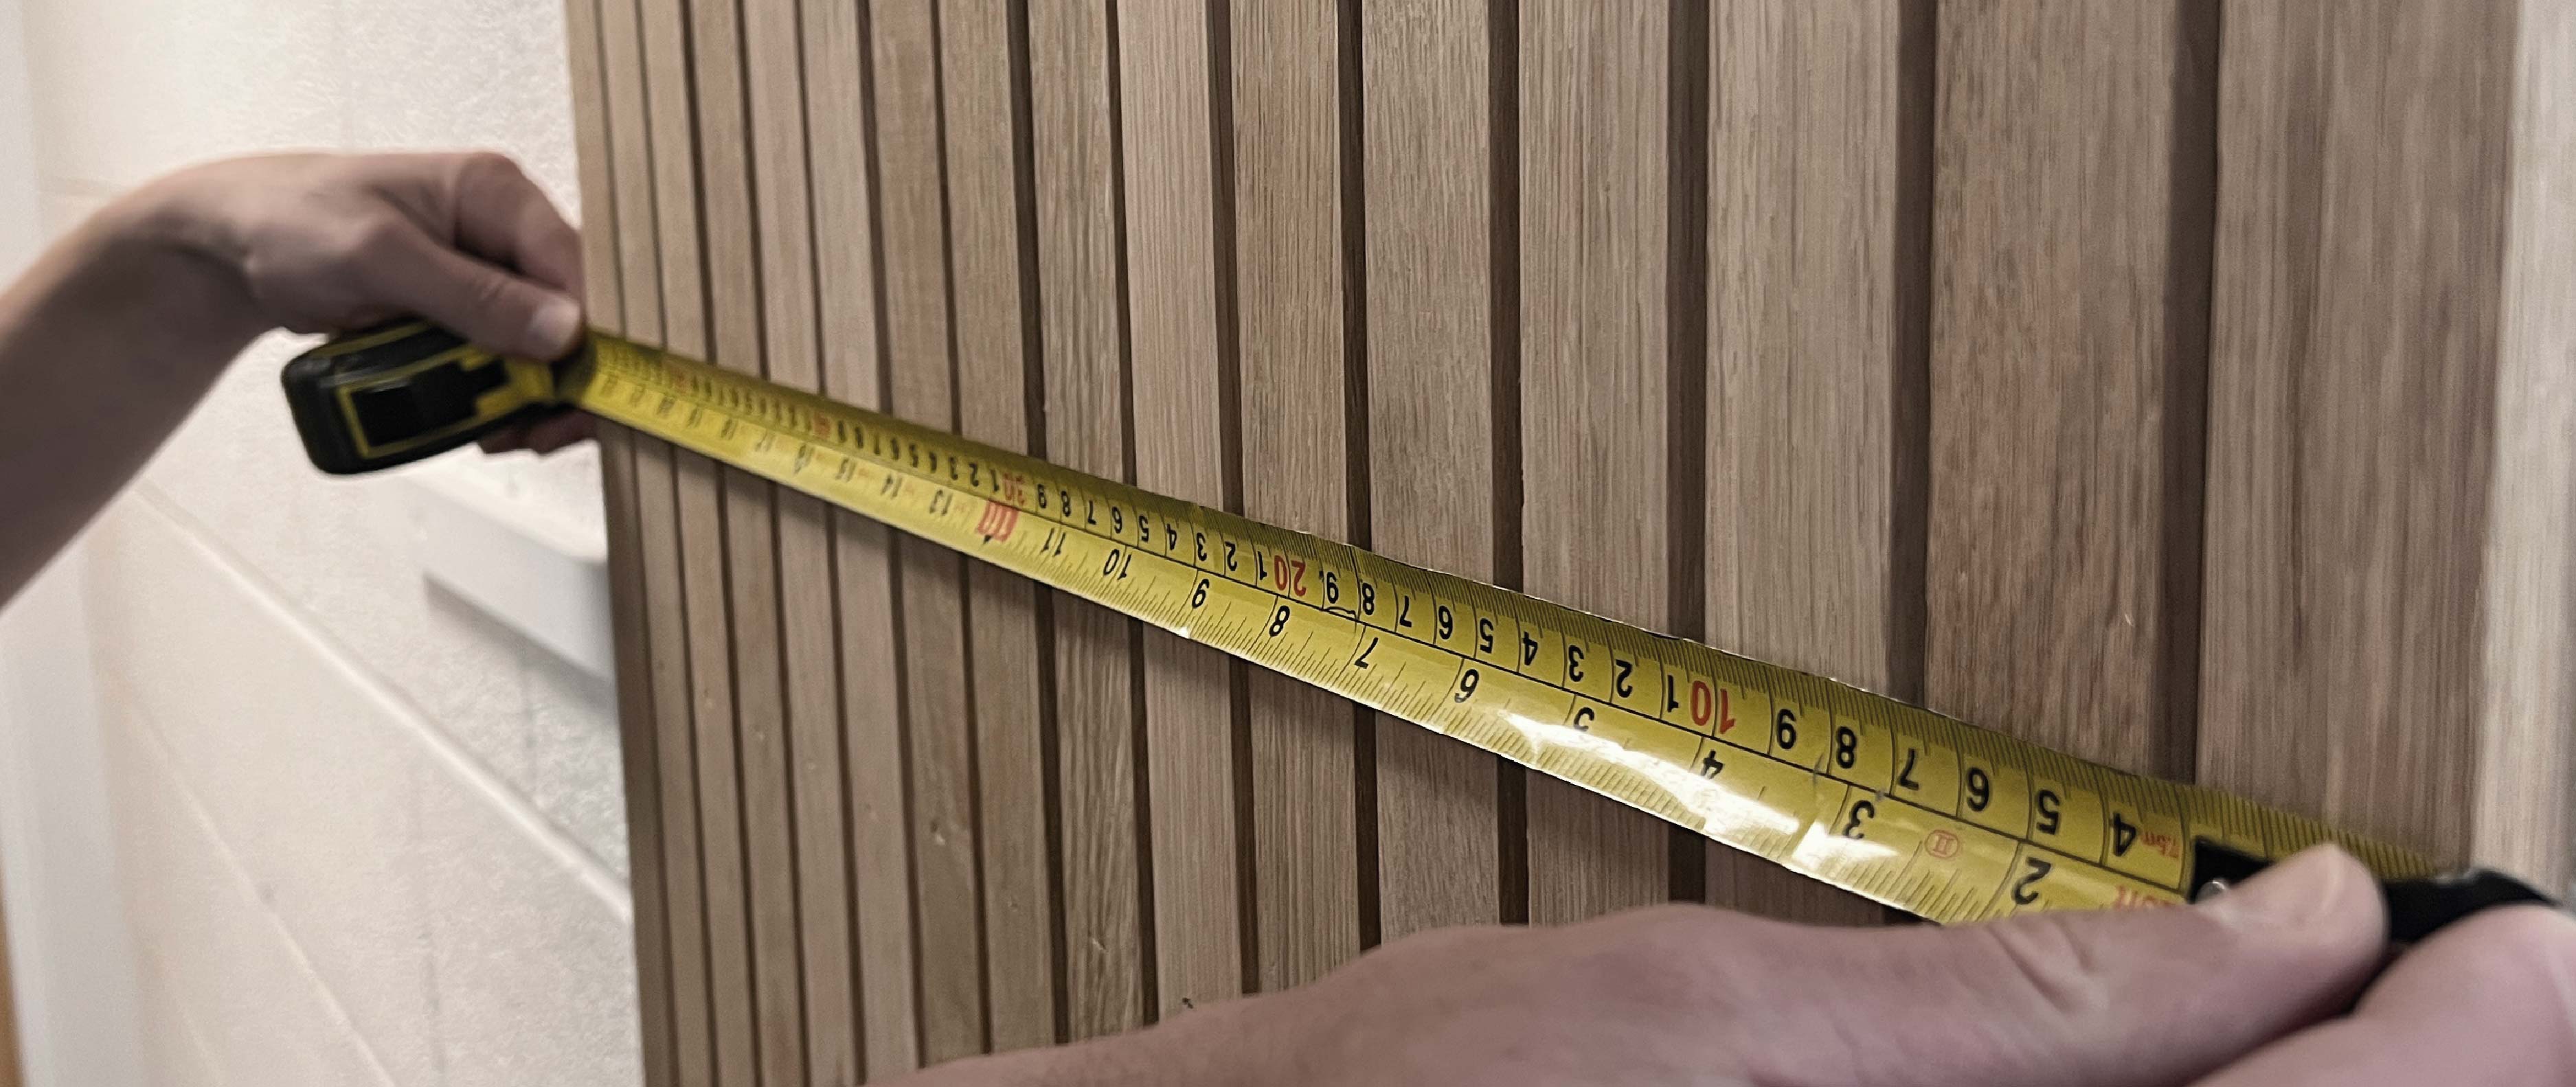
The width of the timber will be determined by your desired look and then of course the number of these you require will be governed by the measurement you need to cover when you place them next to one another. Don’t forget to allow for gaps if this is part of the design.
4. The kit
This project uses pretty minimal tools. The main piece of kit is your pin gun. You can pick up electric pin guns for a good price and they are very quick for fixing timber back to wall batons. You will need a box of pins long enough to go right through your decorative timber and into your wall batons. You will need a tape measure and a step ladder.
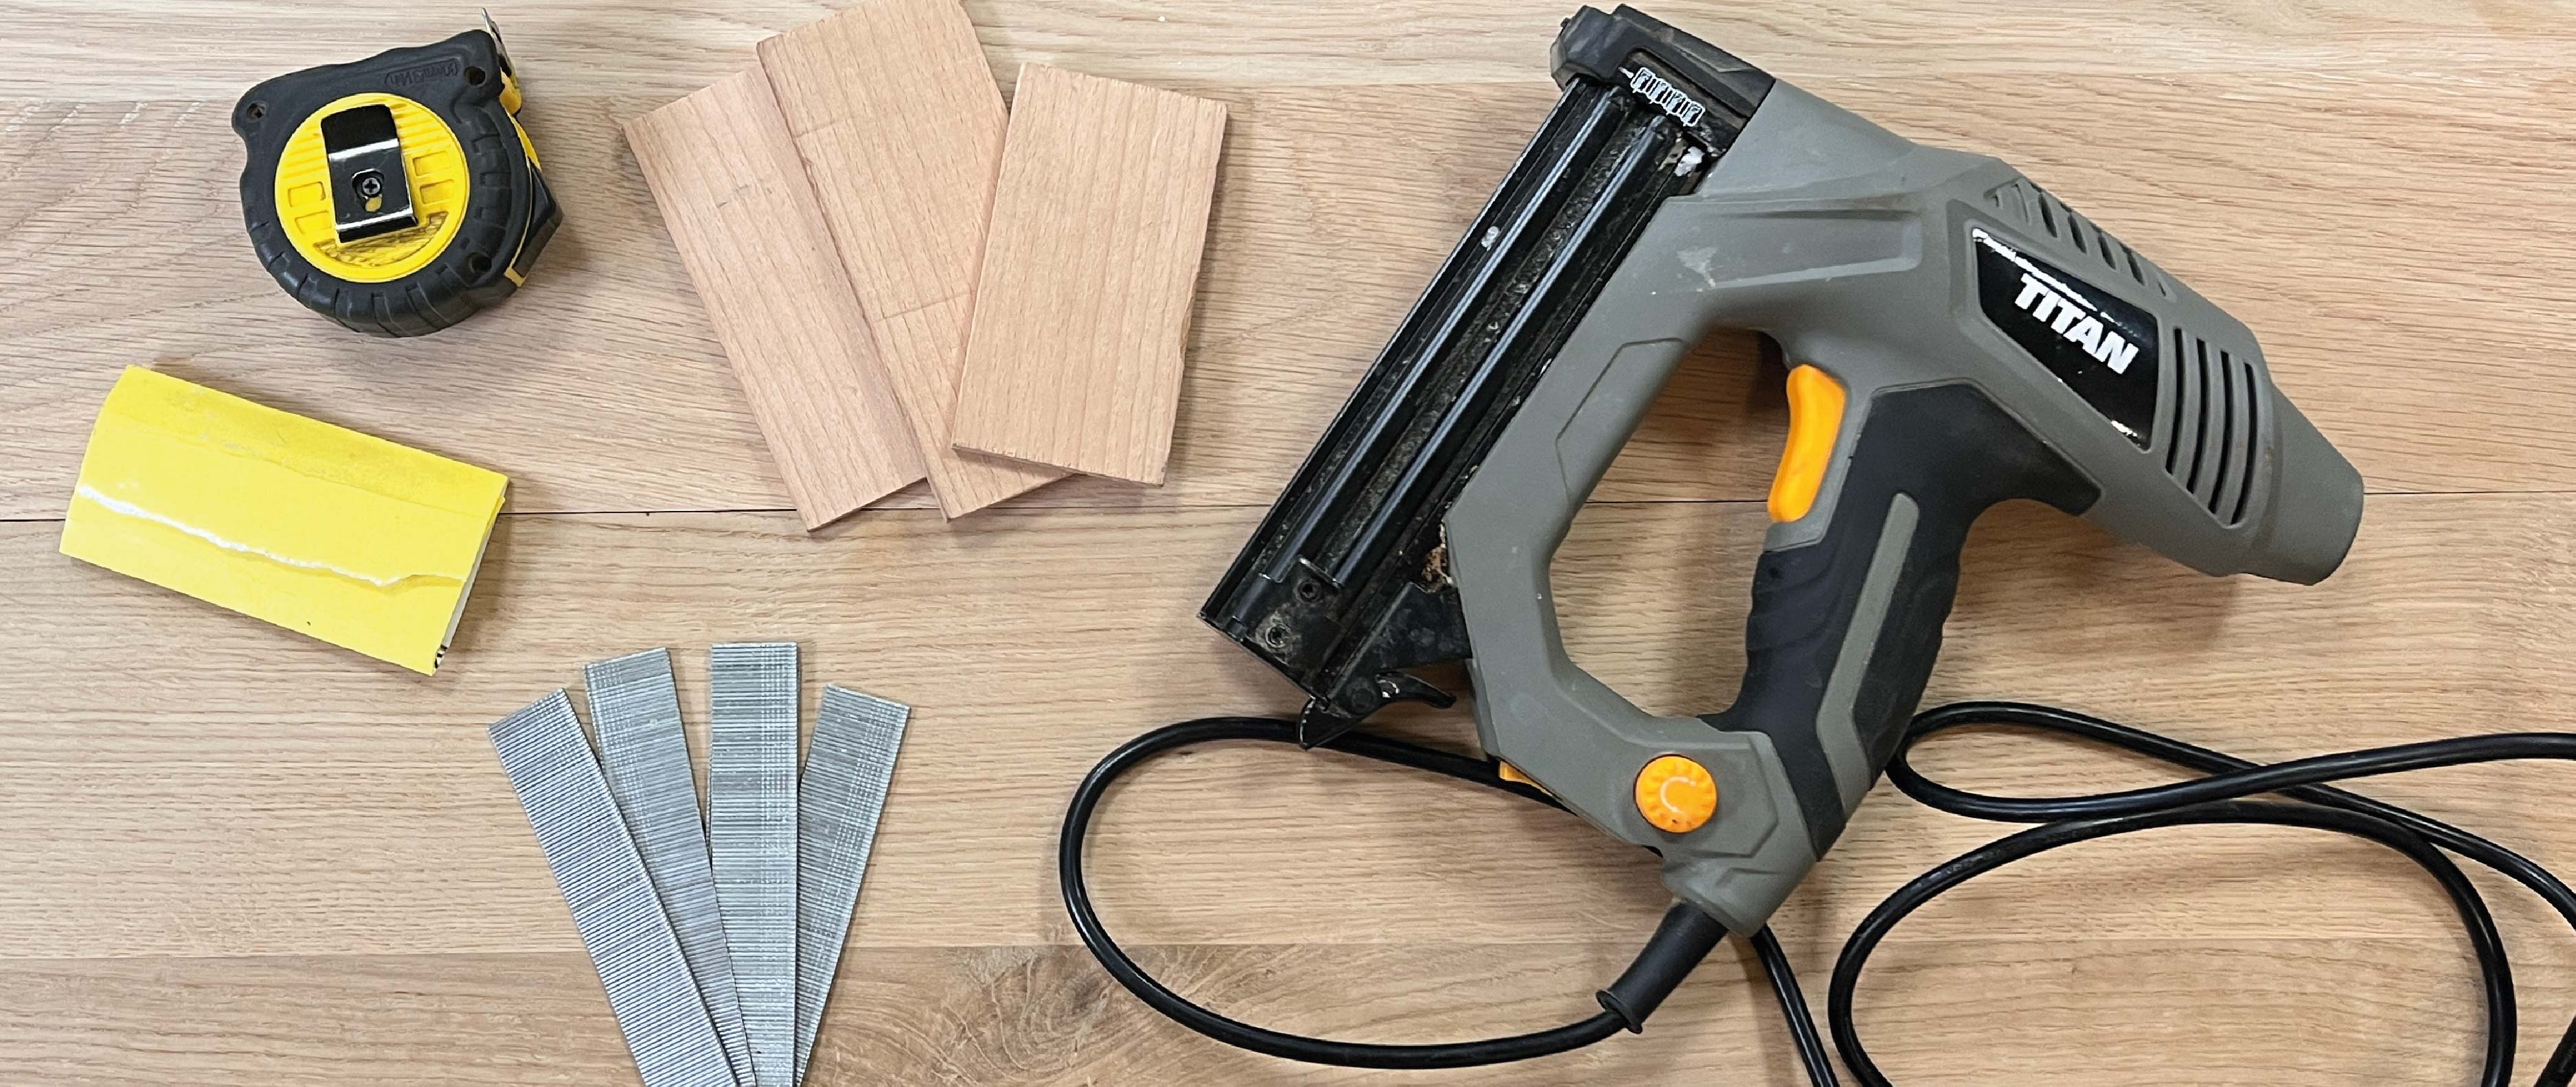
5. Pin your timber
We are using this nail gun to pin the timbers to the wall batons. You could use screws or nails that’s up to you but just remember the bigger the fixings the more likely you will need to pilot drill to avoid splitting the wood.
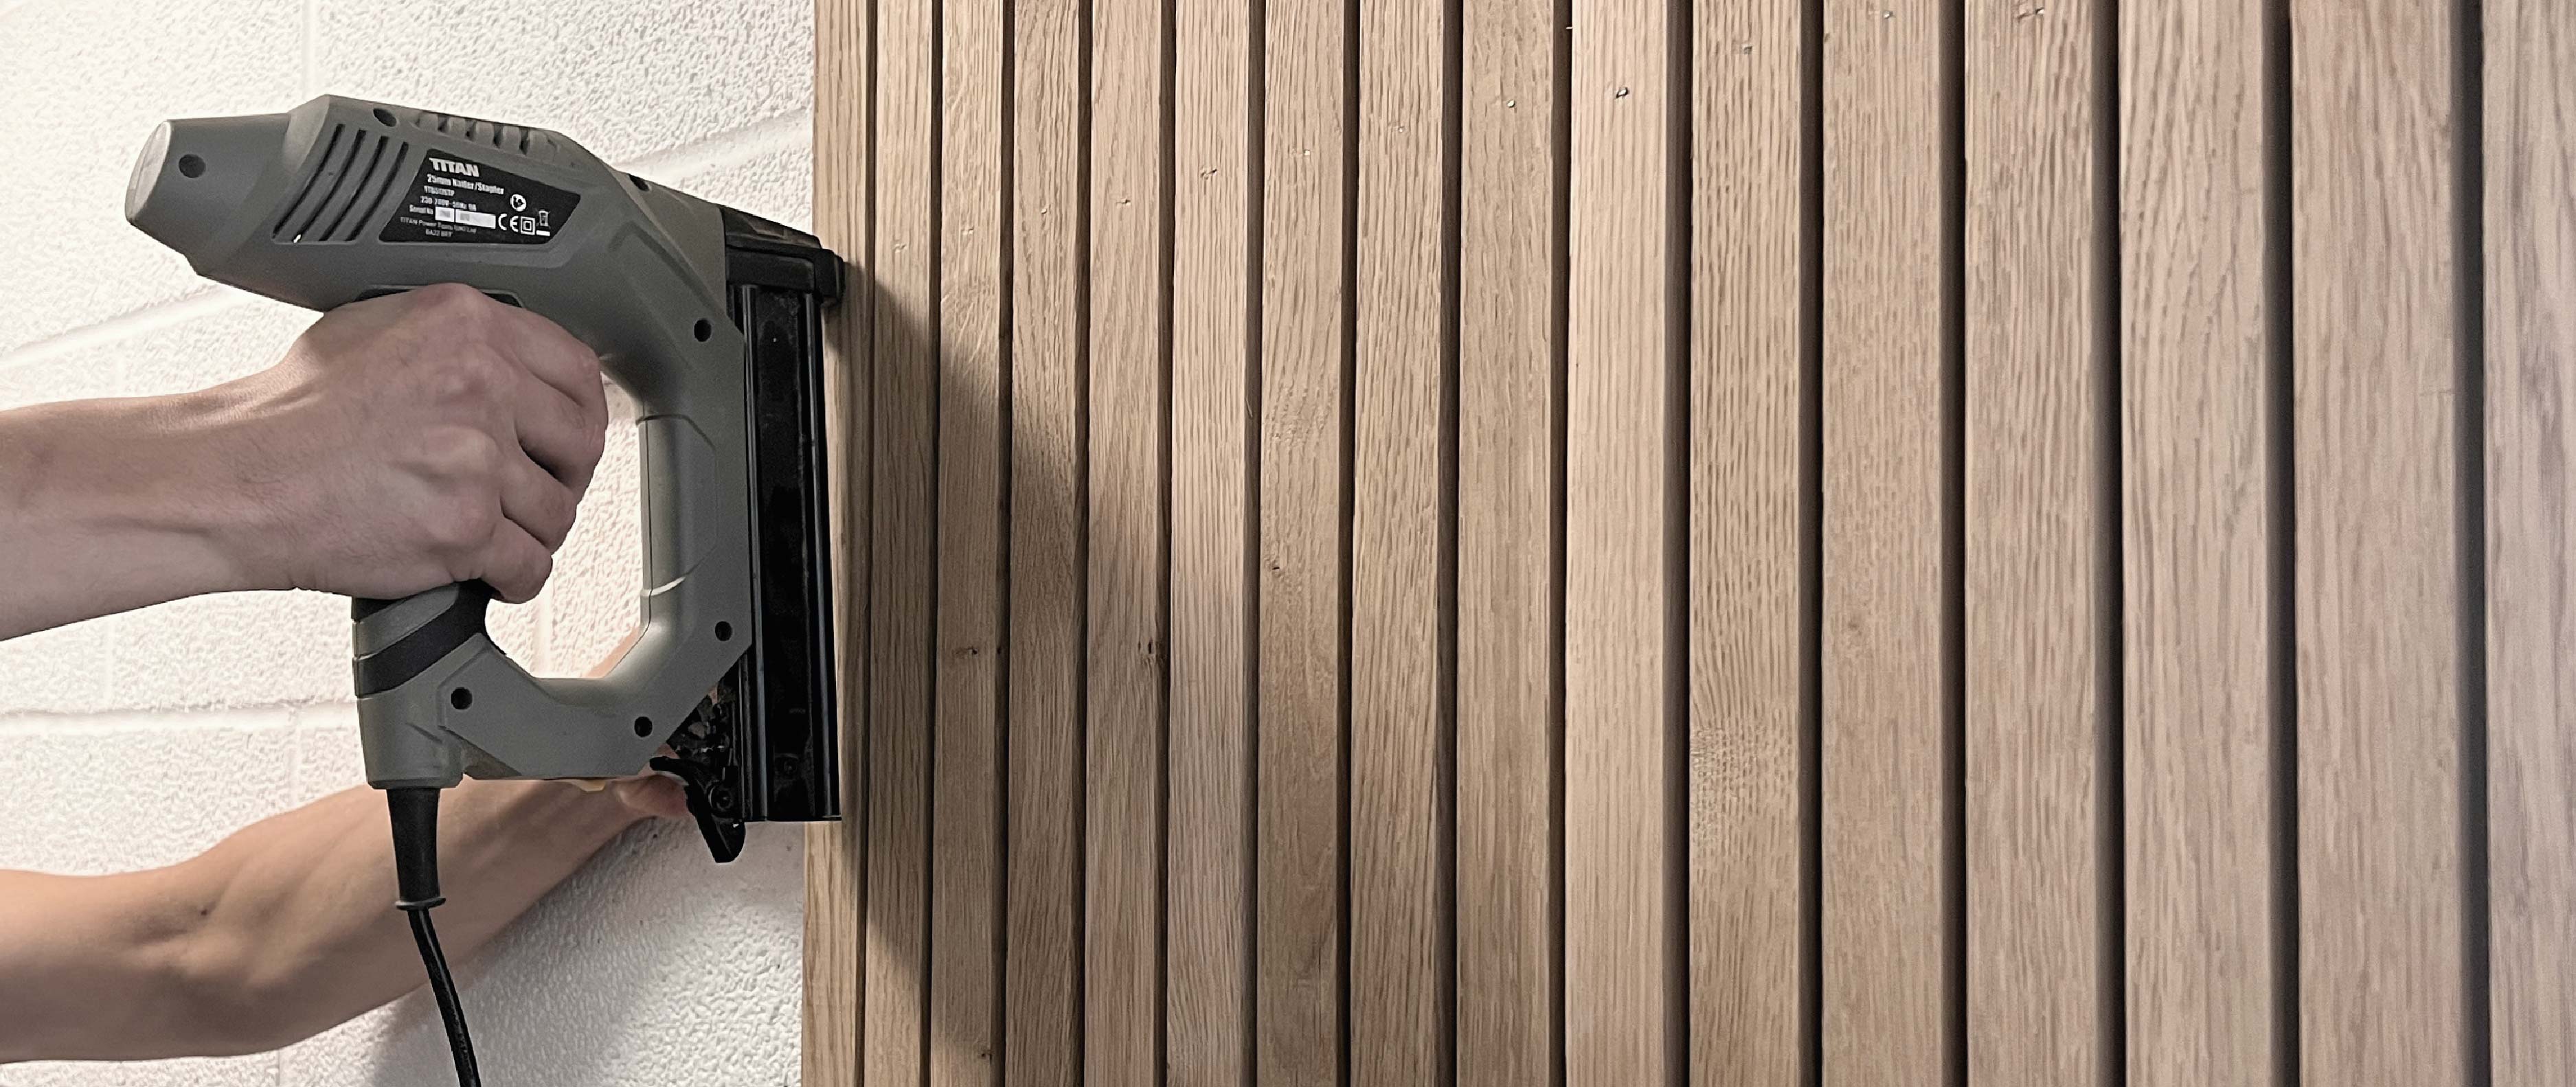
A good tip if you are using gaps in your design is to use a spacer. We have just grabbed a couple of thin pieces of wood about 8mm to use as a gauge for consistency.