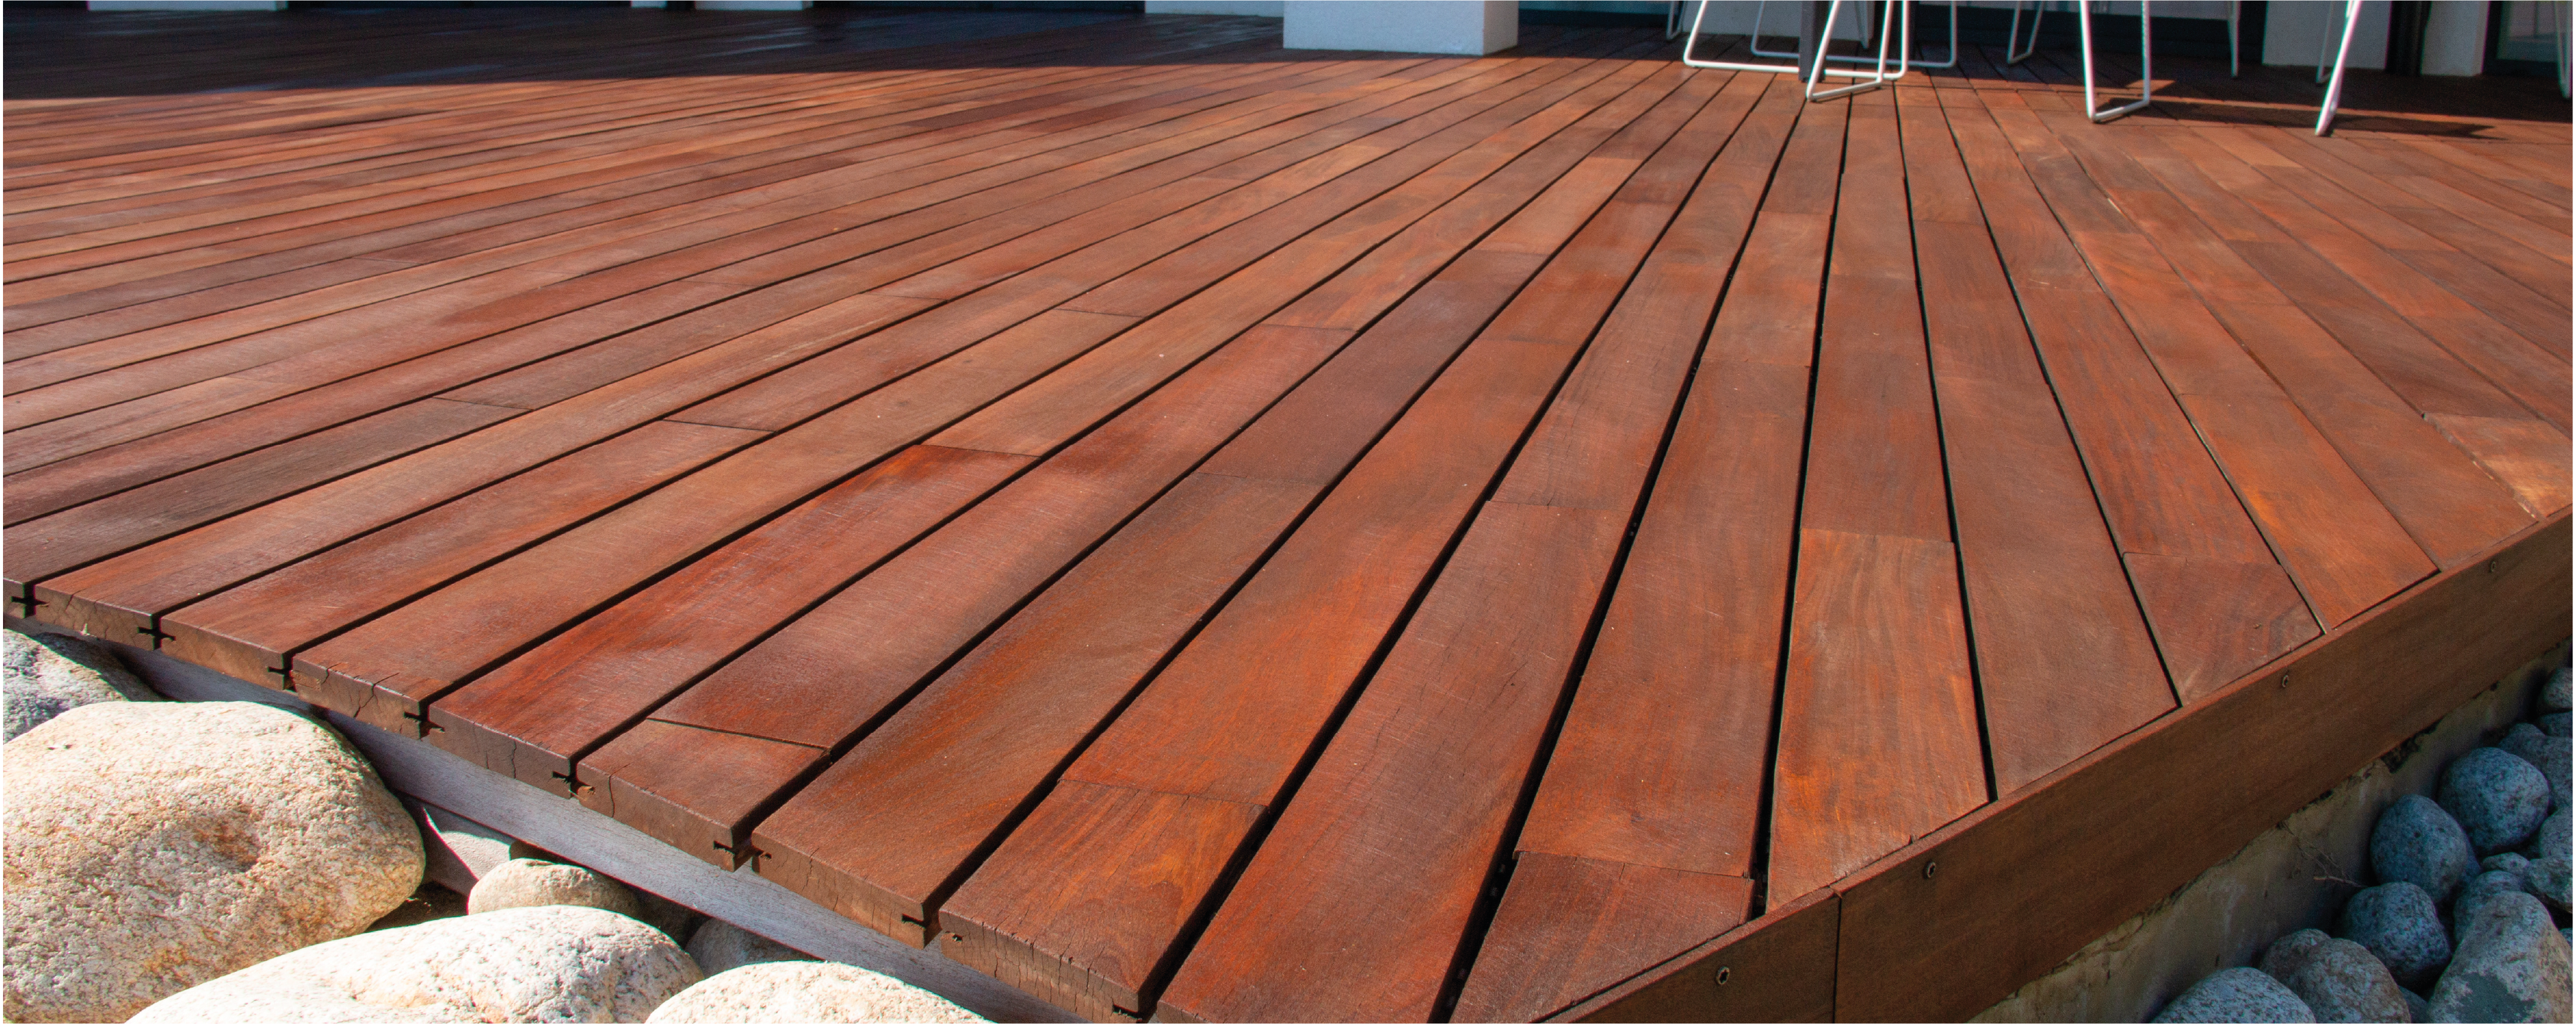
How do I build a wooden deck?
Building a decking area out of timber is a lot simpler than you think and when you break it down into a few simple steps it’s a quick and easy way to transform a space into a stylish seating area.
The following steps show you how to build a ground level deck.
1. Measure your space
Measure out your space first and plan which way round you want your deck boards to go. This is very important because there are techniques to make things more economical with the use of board lengths but also tips for the look also. If the boards run lengthways away from you as you approach or view the deck, this will give the illusion that the deck is longer and more spacious whereas if you lay them widthways this will give the feeling that the deck is shorter. This may influence your decision for the orientation especially if you are looking at your deck through some patio doors from the house.

Once you have decided on the orientation this will determine how you build your frame as your joists in the subframe will be running the opposite way to your deck boards.
2. Choose your timber
Next you need to decide what type of timber you are going to use. You will need an externally rated wood or you will spend all this time and money only to find it rotting within a few seasons. We recommend an oily hardwood for durability and strength. Our suggestions can be rated in both durability and cost from highest to lowest. Gold, would be Yellow Balau, Silver would be West African Iroko and bronze would be Sapele.

It is important to note that these are long term premium timbers and therefore carry a higher price than basic fast grown softwoods and you may want to build a cheaper deck and long lifespans are not important at this stage. In which case pressure treated pine is a perfectly good and popular way to get going quickly for a modest price. The long life timbers could last 20-30 years and over whereas the treated pine will last 5-10 years at most.
A compromise could be to use a cheaper treated pine for the sub frame and invest a little more in the deck boards which will be the wood that is really on show. You can then put the premium boards around the outside to finish.
3. Build the sub-frame
Once you have bought your timber you can now get building the sub frame. You can either use the full length of the boards to build a 4 sided frame to the size of your space. If the space is wider or longer than the board length you can build a series of frames and screw these together. Its important to screw the frames in the corners and set these out as quadrangles to start with.

Measure from corner to corner and compare these measurements to make sure they are equal as this will demonstrate that you have the frame reasonably square and equal.
4. Fitting the joists
Now measure the inside of the frame and cut all your joists to fit. You need to work out your spacing here and number of joists. We recommend putting the centre of each joist at 450mm apart at most to ensure good support for the deck boards beneath. Work out how many are required to equally span the length with this in mind. These joists can be screwed into the frame from outside for simplicity or if you wish to hide the screws you can use galvanised joist hangers.

Smaller joists or ‘noggins’ can now be run in the opposing direction between the long joists. This will further strengthen the sub frame especially if the deck is going to hold a lot of weight.
5. Make sure your frame is leveled
This is the point where you will need to lay a long spirit level on the frame in both directions to find out how level this is. Ideally you need the deck to be level in both directions but with a very slight slope to allow for water to run away from the house or fence.
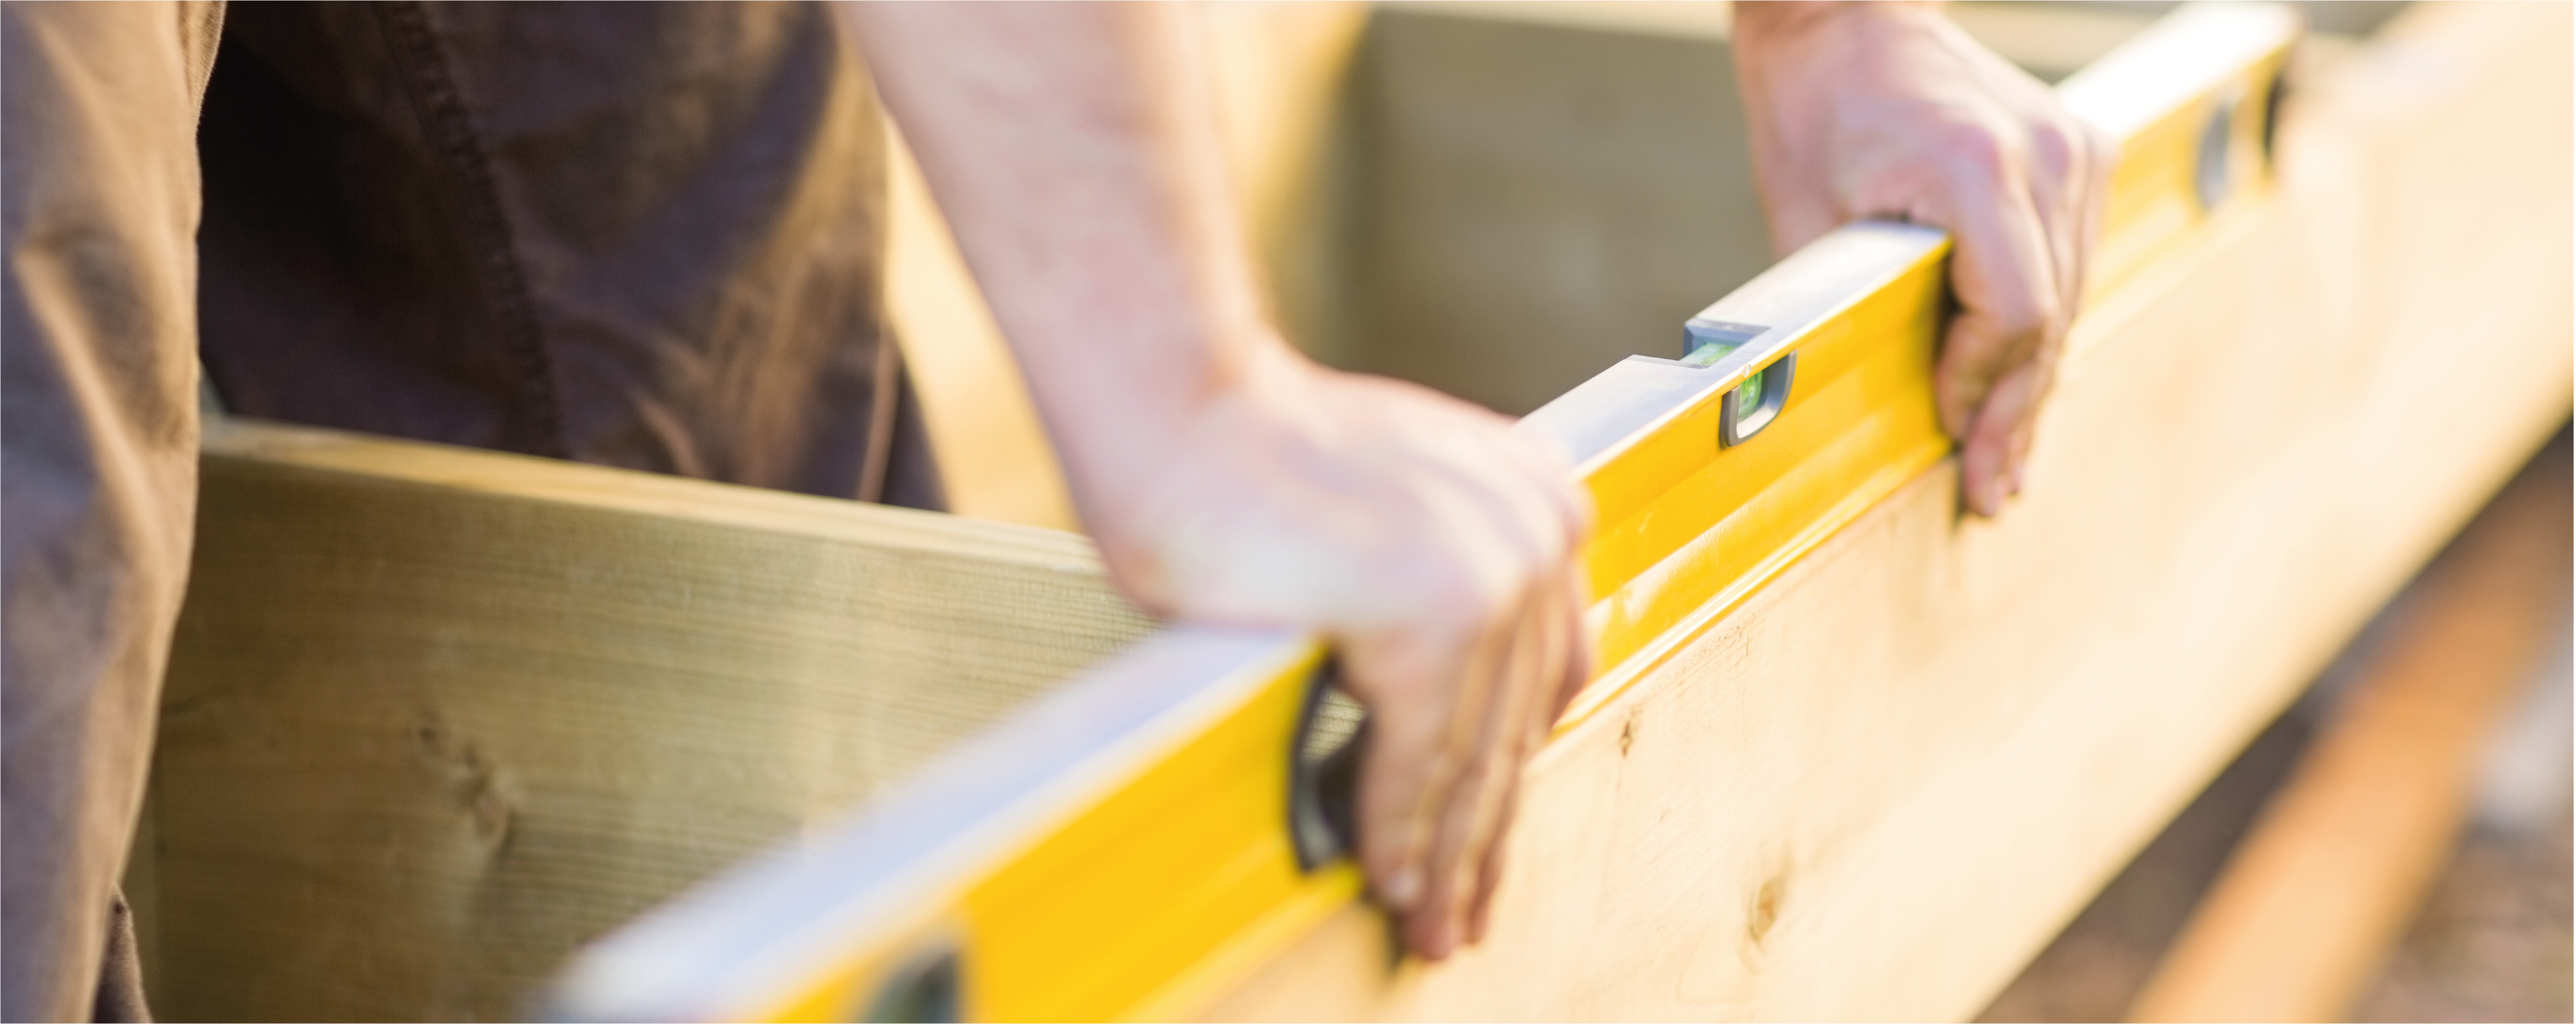
To achieve and maintain these levels you may need to fix the frame in place by either sitting the frame on bricks, paving blocks or for big levels you can screw posts into the frame. These posts would need holes digging and concrete pouring in to secure. A rapid set concrete or ‘Post Crete’ works well to set the post heights quickly.
6. Fitting decking boards
Now the quick and satisfying part of laying the deck. You can work from one end screwing the deck boards down with stainless steel or deck screws.
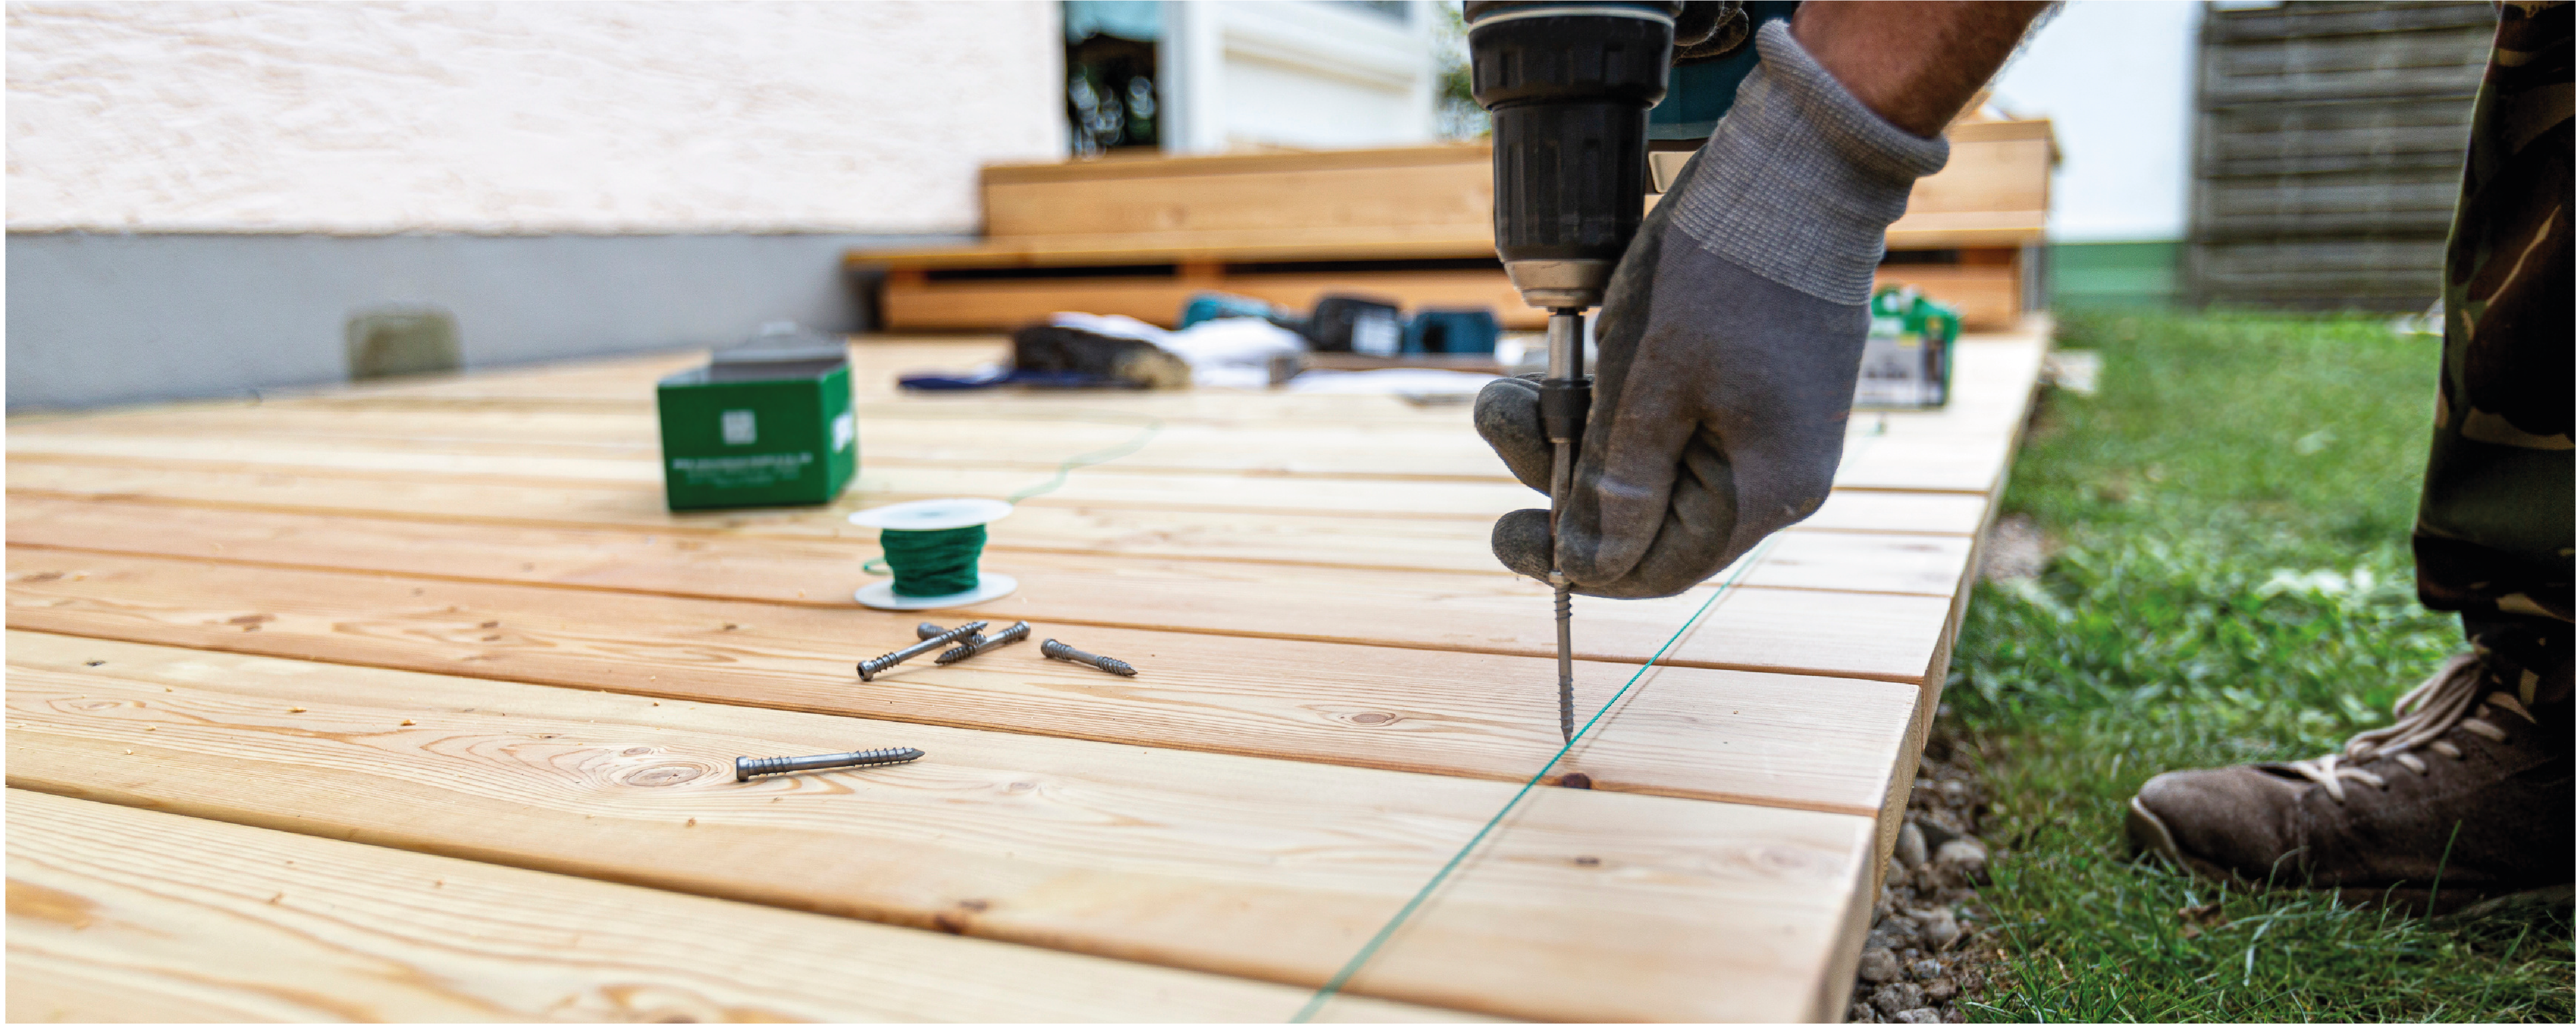
A good tip here is to set the boards apart with a small gap by using a couple of packers/spacers to make sure the gap is consistent.
7. Finishing up
Your deck is now finished and ready to use.